How to Integrate Kotlin with Android Studio
Hello guys, I’m back and as usual, I would like to share some programming stuff once again! 😀 At the Google I/O 2017 Google, they announced that Kotlin is now the official programming language of Android. Further information can be found here.
Install Kotlin Plugin
I am going to show you how to use Kotlin in Android Studio. To use Kotlin in Android Studio prior to version 3.0 you have to manually install the Kotlin plugin.
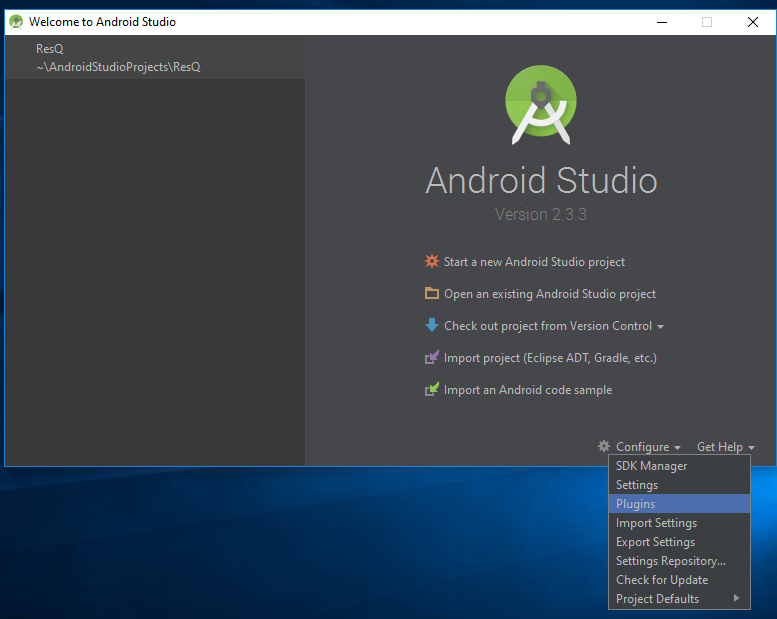
To do so, start Android Studio and open Plugins from the Configure menu.
Note: Starting from Android Studio 3.0 the Kotlin plugin is already installed. No additional setup is required.
Now, press the Install JetBrains plugin… button.

In my case, I already installed Kotlin plugin. Click Install button.
Create New Project
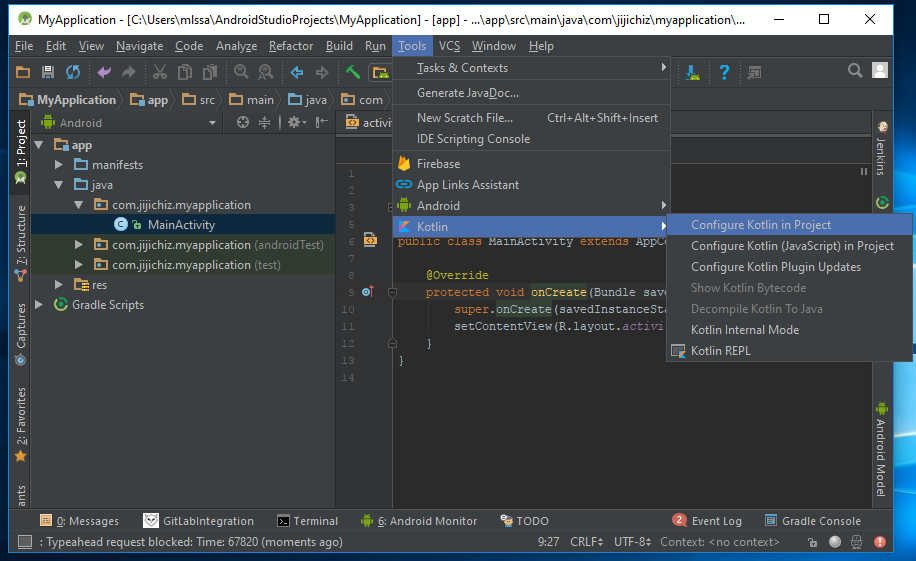
Now go ahead and create a new project. After successfully creating a new project, head over to Tools > Kotlin > Configure Kotlin in Project.
And select Android with Gradle.
Next, All modules is by default selected. Leave as is and click OK. Kotlin compiler and runtime version as of the writing is 1.1.51.
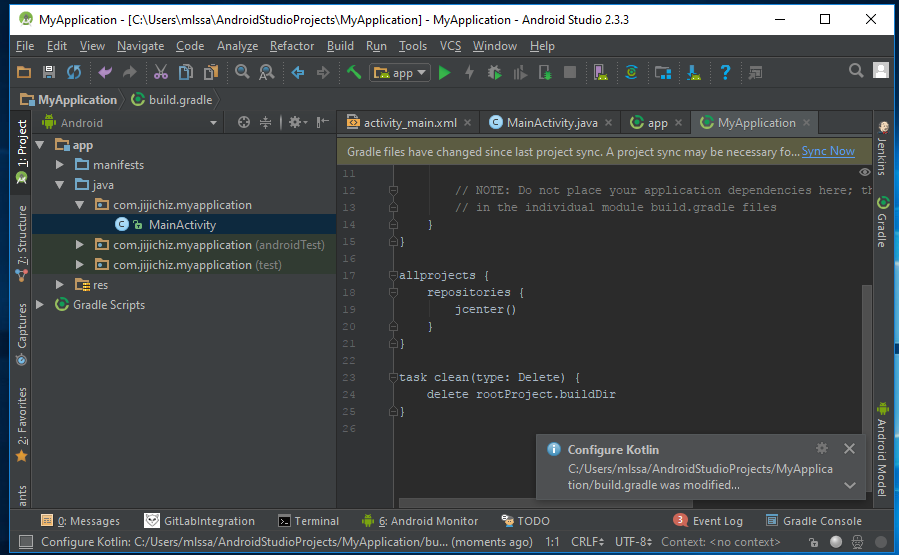
After that you need to click Sync Now so your Gradle files will be in sync.

Convert Java code to Kotlin
To convert your existing Java code, click Code > Convert Java File to Kotlin File.
And the new converted Activity will be displayed.
And that’s it! If you want to continue adding a new Kotlin Activity, there two ways. First way is to create a new Activity. And then do the steps above. Second way is to go to File > New > Kotlin File/Class.
Til next time! 🙂 Hope you like my tutorial session. Stay tuned for next blog! 🙂


